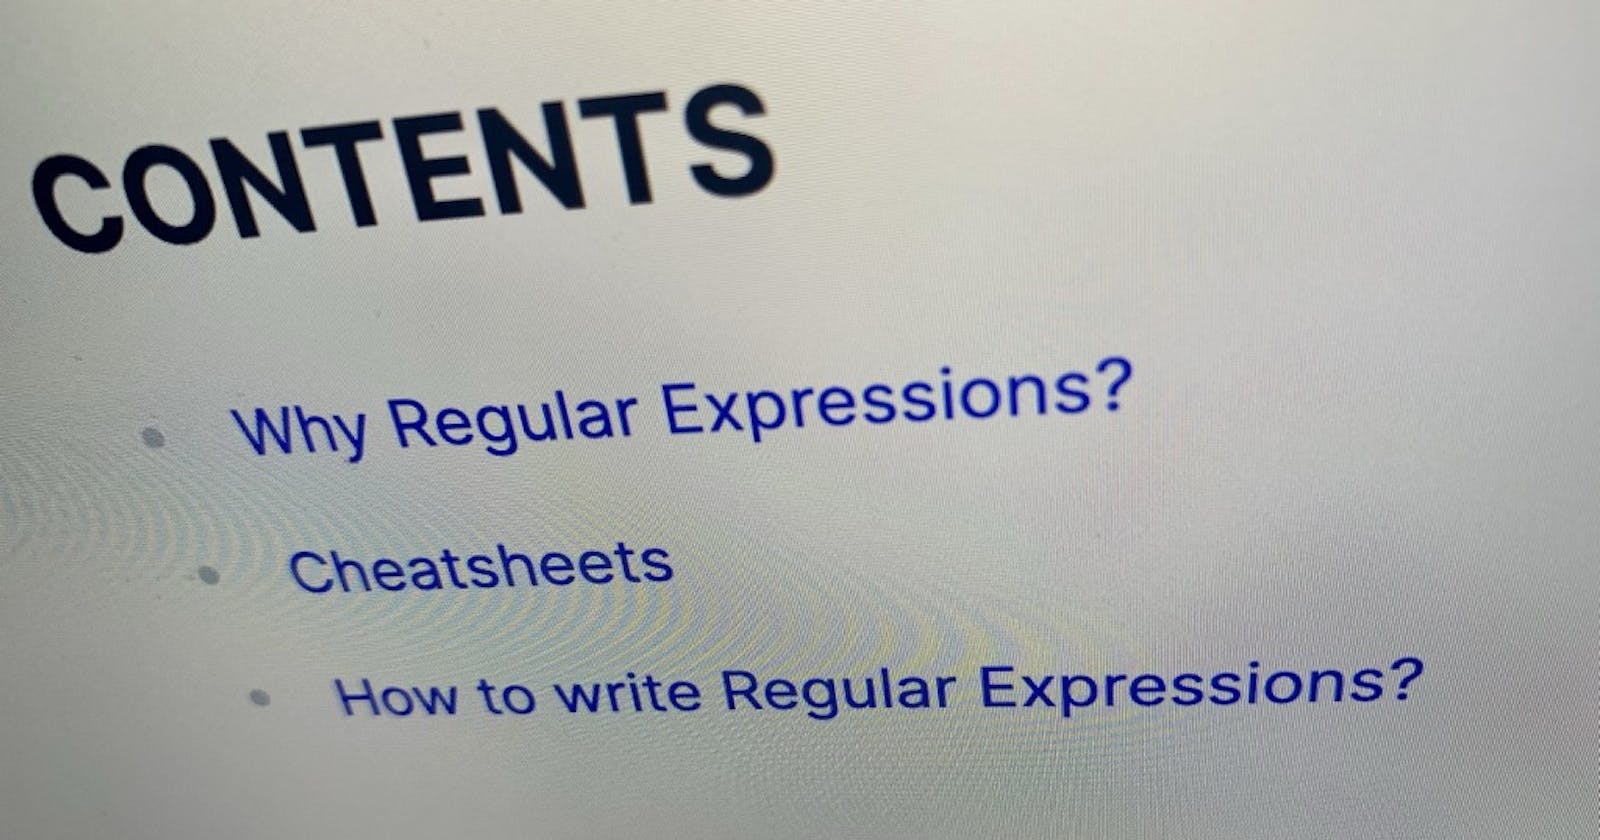
Hashnode automatically generates anchor points for your stories when you add headings.
Headings do not just define a structure for your story; they also help readers follow your words better. Additionally, titles act as anchors.
In your story, you might write something like this:
# JavaScript 101 - from novice to pro

In this story, I'll briefly teach you what JavaScript is and [...]

## History

[...]

## ECMA

[...]

## Present
Code: Example story written in Markdown
When you Preview your story, HN generates many unique ids for each of your headings. You find out the id and use the id to create a clickable link pointing to a title inside of your story.
Image: Inspect Element reveals the automatically generated
id
Steps to generate clickable links
The example headline JavaScript 101 - from novice to pro becomes javaScript-101-from--novice-to-pro.
Notice: HN converted all of your headings to lower case letters and replaces all non-letter characters with a single - (dash).
JavaScript 101 - from novice to pro
javaScript-101-from--novice-to-pro
To create a link with the id write in your story, something like this.
[JavaScript 101 - from novice to pro](#javaScript-101-from-novice-to-pro)
Code: Example link to section on the same page written in Markdown
Notice: I used the Markdown-Link format to create a link, but the link doesn't have https or the URL of HN or your blog. The # (hash) character inside the Markdown-Link format tells the browser to look for an id with the value of javaScript-101-from-novice-to-pro. If it finds such an id-equipped element, it scrolls to that element.
Create a page link
Copy the text of your heading, convert it entirely to lower case letters, and replace all non-letter characters with a single - (dash).
In my case, it looks now like this:
# JavaScript 101 - from novice to pro

# Content

 - [History](#history)
 - [ECMA](#ecma)
 - [Present](#presents)

In this story, I'll briefly teach you what JavaScript is and [...]

## History

[...]

## ECMA

[...]

## Present
Code: Same example story as above but this time with table of contents written in Markdown
When you preview your story, you should see the ToC, and your links should be clickable.
Identify the id
If a link doesn't lead you to the heading you thought you were targeting, then fear not, you can check what'd` HN has generated.
Click the Preview button and find the heading you wanted to be targeted and right-click on it. Then select Inspect or Inspect Element. A text editor should open, highlighting the element we just right-clicked on. Find what is written in the id="..." field. Copy the value and paste it into your link-section of the ToC.
Video: Show how to identify a heading's
idin a Chromium-based browser
I made a typo and wrote #presents when it should be #present. After fixing it, the ToC link works.
One last note: Your ToC links appear in the address bar. If you aren't writing stories in a foreign language with non-ASCII/ANSI characters, you should be able to guess the id and fix typos.
Manually creating a ToC is a bit tedious
I think HN should generate a ToC or an Outline automatically. I requested such a feature, and if you like it or add a comment, it might be added and improve all of our story writer's life.
-> Add an outline for more straightforward navigation when writing (maybe when reading too).

